| Railway Preservation News https://www.rypn.org/forums/ |
|
| RDG Locomotive 3640 https://www.rypn.org/forums/viewtopic.php?f=1&t=23075 |
Page 1 of 1 |
| Author: | RDG Diesel [ Wed May 30, 2007 8:23 pm ] |
| Post subject: | RDG Locomotive 3640 |
For the last year and a half a few members of the RCTHS and myself have been actively working on EX Reading GP-35 number 3640 in an attempt to completely restore it to it 1974 heritage when it was the last locomotive to be completely overhauled by the Reading Company shops. Back in 2002 the unit was returned to service and saw a moderate amount of service in an attempt to work out the majority of the mechanical bugs. Now it is time for a museum quality restoration here are some photos that have been taken along the way.
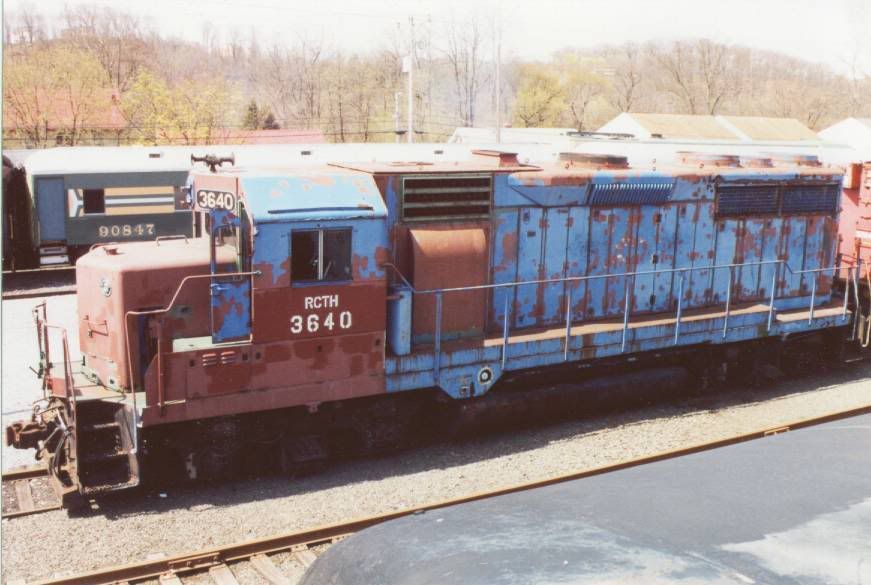
This photo was taken in 2003 when the engine was running to do some yard moves. |
|
| Author: | RDG Diesel [ Wed May 30, 2007 8:49 pm ] |
| Post subject: | Re: RDG Locomotive 3640 |
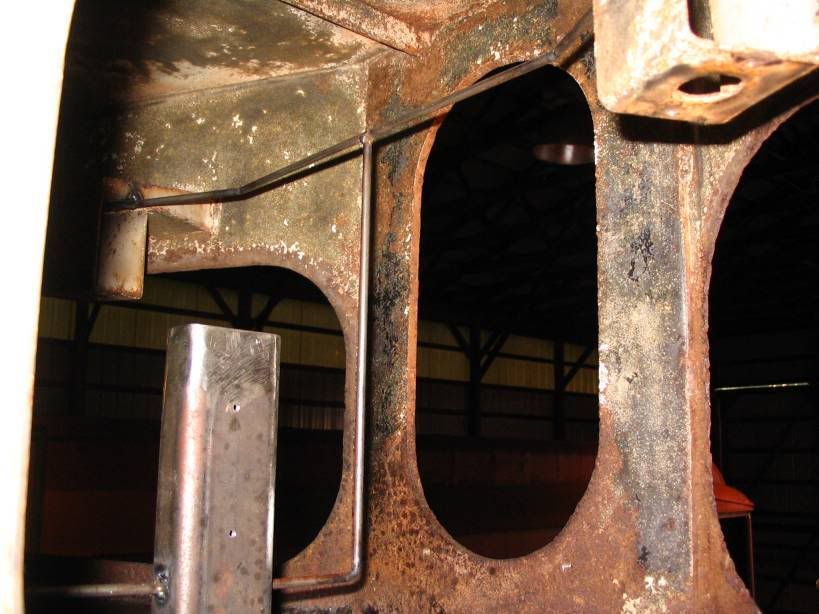
One of our first projects was to rebuild the battery boxes here is the fireman's side battery box before we did anything to it.
A photo taken when we started to cut out the rotted metal.
This is after some things have been removed the grate and spacers.
after some of the sheet metal is cut out
This is taken looking right through the battery box to the traction motor blower duct.
This is what it was stripped down to.
The new frame was fit into place.
The new frame and sides were welded in place.
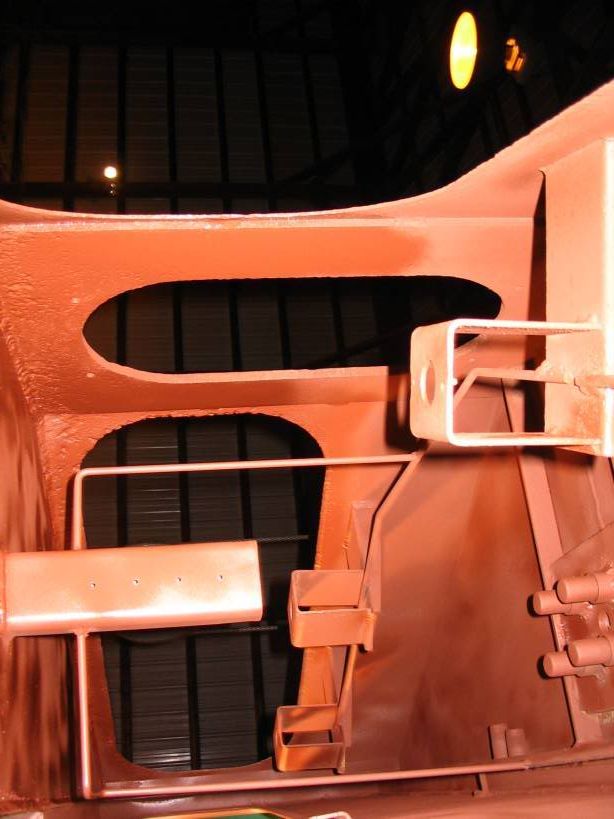
After that everything received a coat of acid resistant paint.
These are the spacers and acid deflector also coated with acid resistant paint before welding them in place.
The rest of the battery box is needle scaled
The spacers and acid deflector are welded in
The new grate is fit in place
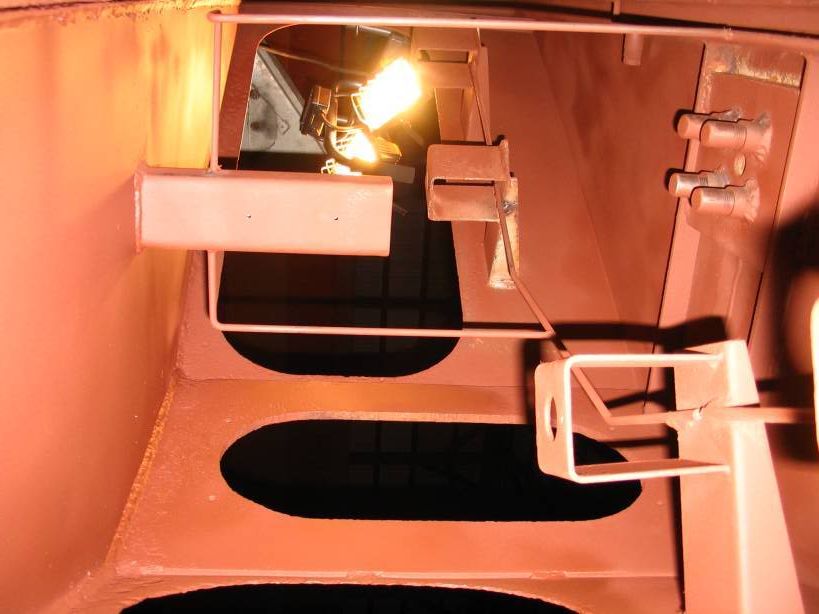
Everything else gets painted
And the finished product
|
|
| Author: | jrevans [ Sun Jun 10, 2007 3:11 am ] |
| Post subject: | Re: RDG Locomotive 3640 |
You guys are doing a great job on this restoration and I'm enjoying watching the updates. I don't think that I've seen a diesel restoration done on this scale before. Good stuff! Here's the link to the whole thread: http://forums.railfan.net/forums.cgi?bo ... 1173123328 |
|
| Author: | E.B. Levin [ Sun Jun 10, 2007 8:51 pm ] |
| Post subject: | RCTHS please contact me |
Would someone from the RCTHS please contact me via PM. I have a spare Barco electronic transition control panel that will work in a GP-35 that I would like to donate if you are interested. EBL |
|
| Author: | jrevans [ Mon Jun 11, 2007 2:08 pm ] |
| Post subject: | Re: RDG Locomotive 3640 |
jrevans wrote: You guys are doing a great job on this restoration and I'm enjoying watching the updates.
I don't think that I've seen a diesel restoration done on this scale before. Good stuff! Here's the link to the whole thread: http://forums.railfan.net/forums.cgi?bo ... 1173123328 In retrospect, I suppose I should modify this to say, "Except for the Levin's wonder EP22 restorations, I don't think that I've seen a diesel restoration done on this scale before. " :) I forgot the amount of detail and planning that you guys did for those units. My memory must be going or something.... |
|
| Author: | RDG Diesel [ Wed Mar 05, 2008 2:07 am ] |
| Post subject: | Re: RDG Locomotive 3640 |
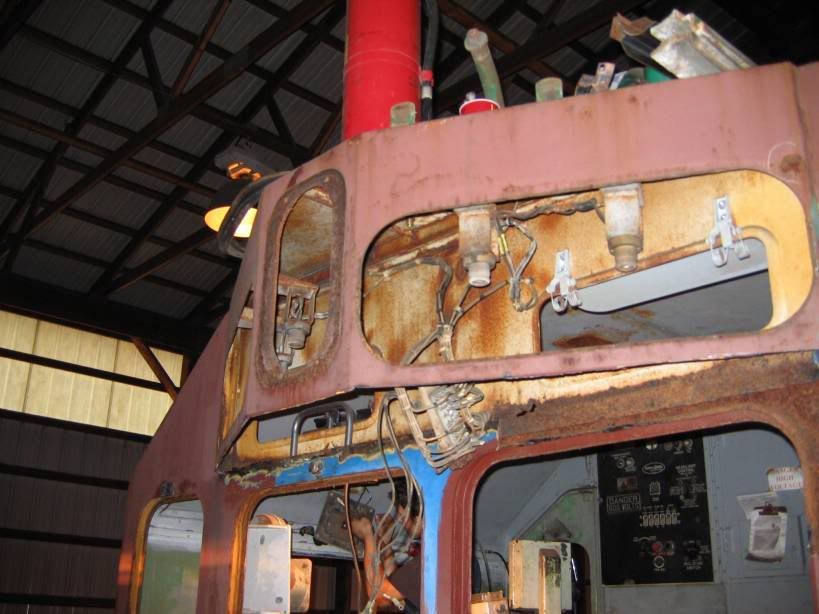
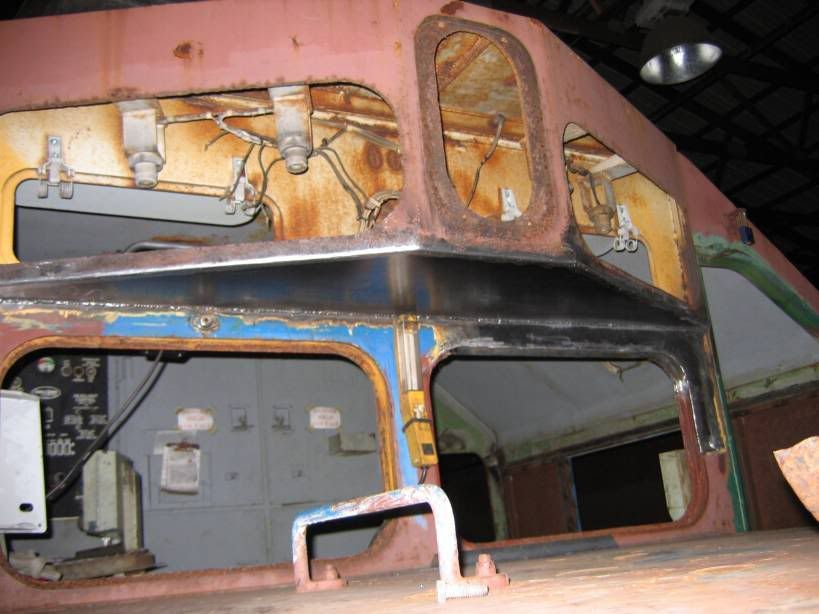
Here are a few more pictures of some of the progress on RDG 3640. This first picture shows the area about to get rebuilt before any work has been done to the area.
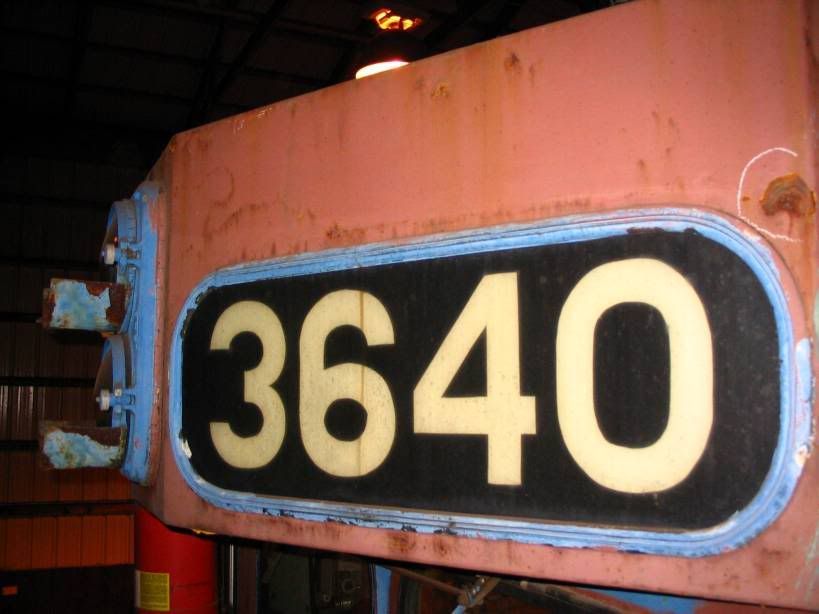
This photo was taken after the number board was removed.
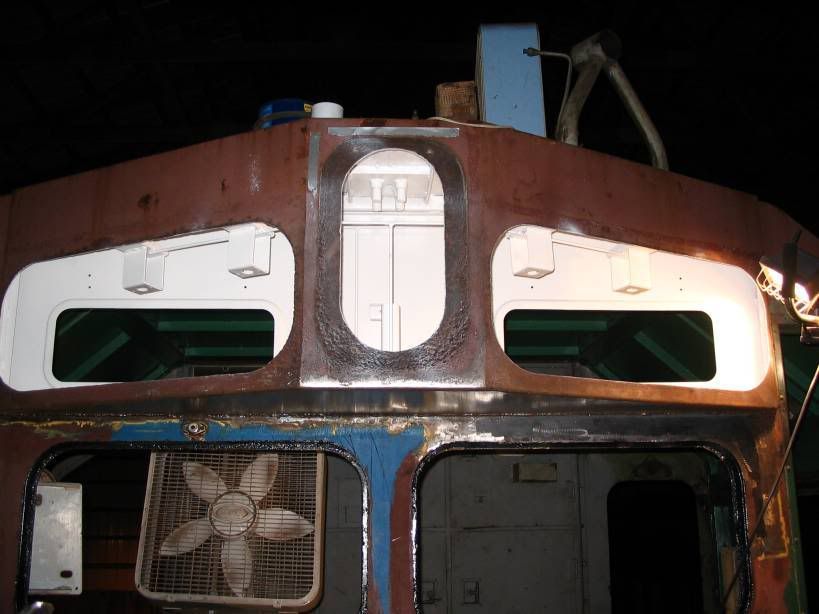
Upon closer inspection we decided it would be best to replace the bottom of the number board housing it turned out to be a wise move.
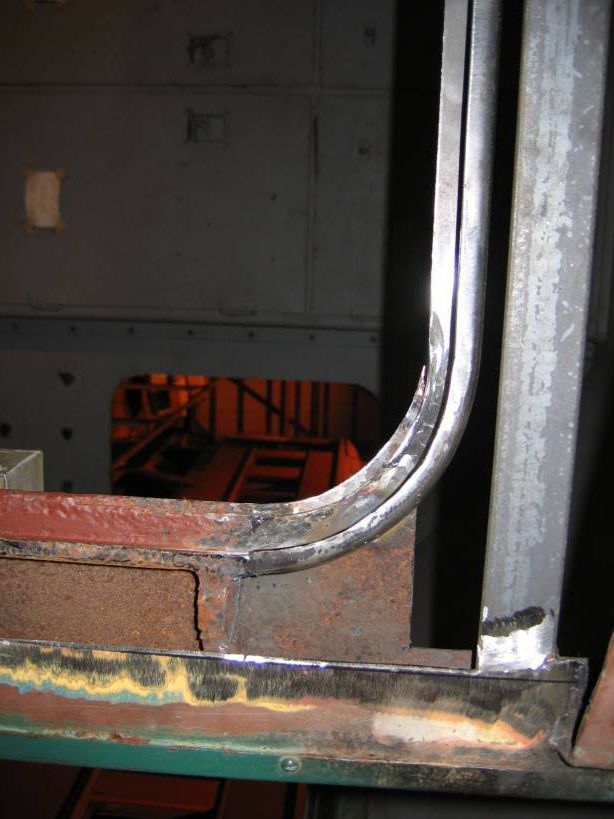
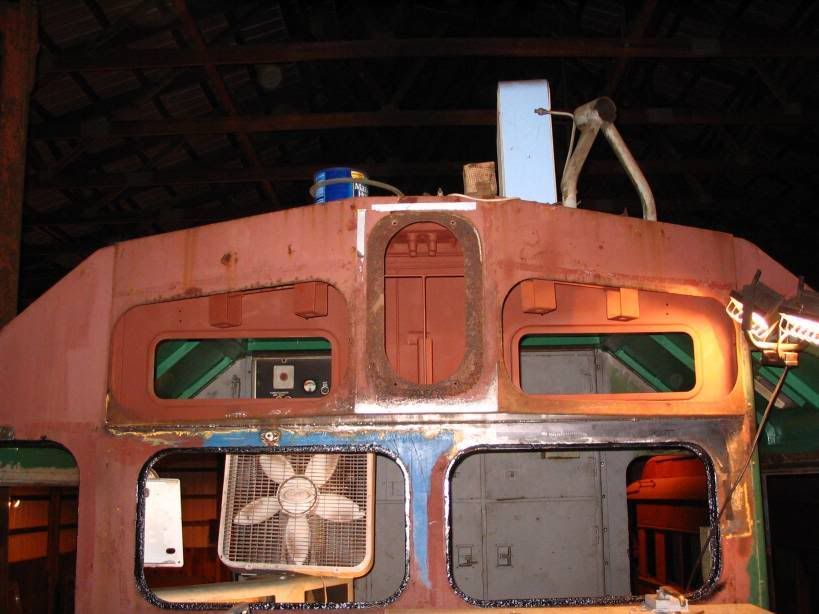
Of coarse once you start cutting you just keep going we found the one window frame to be considerably deteriorated so we replaced it this was taken after the outer skin was removed
Here is a view of the new insides the angle and window frame were replaced before the new skin was installed
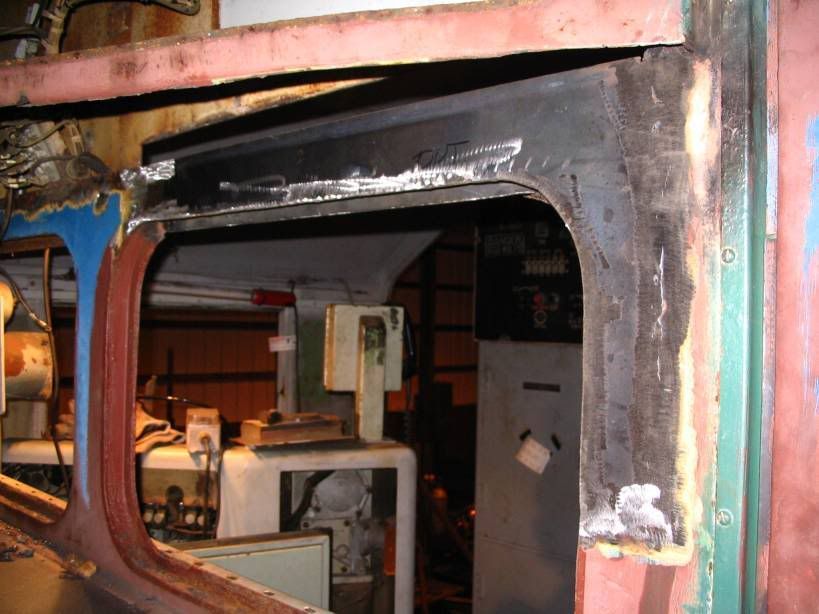
After the new frame was in place the new skin was installed.
|
|
| Author: | RDG Diesel [ Wed Mar 05, 2008 2:16 am ] |
| Post subject: | Re: RDG Locomotive 3640 |
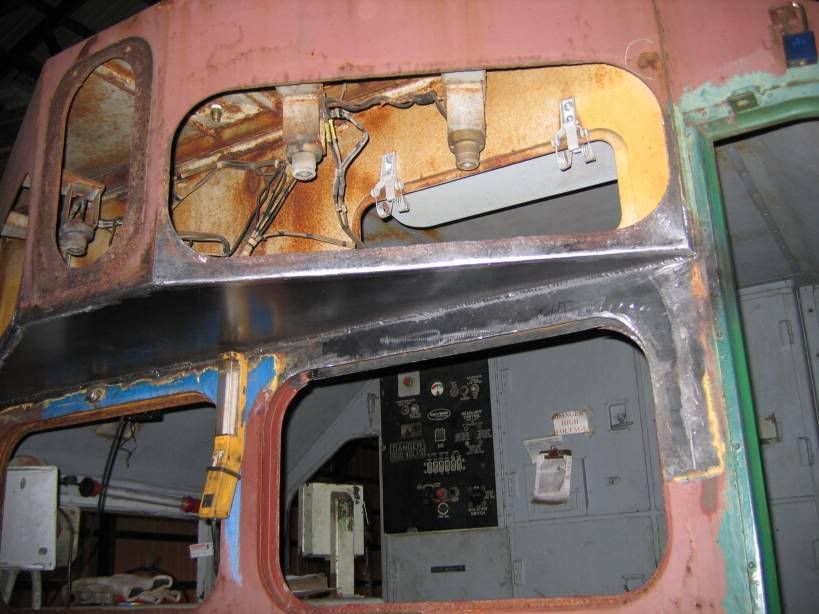
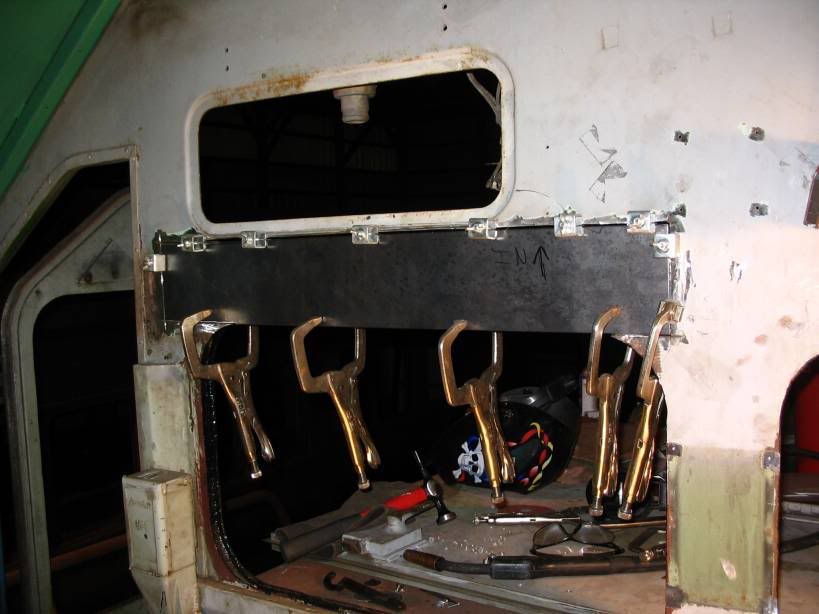
After the new skin was installed the new bottom for the number board housing could be fit into place.
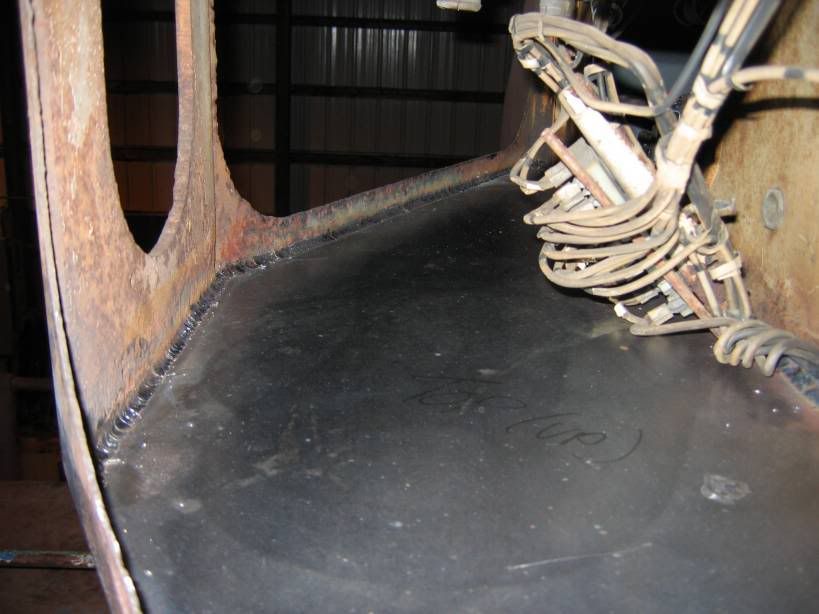
A view of the new bottom
another view
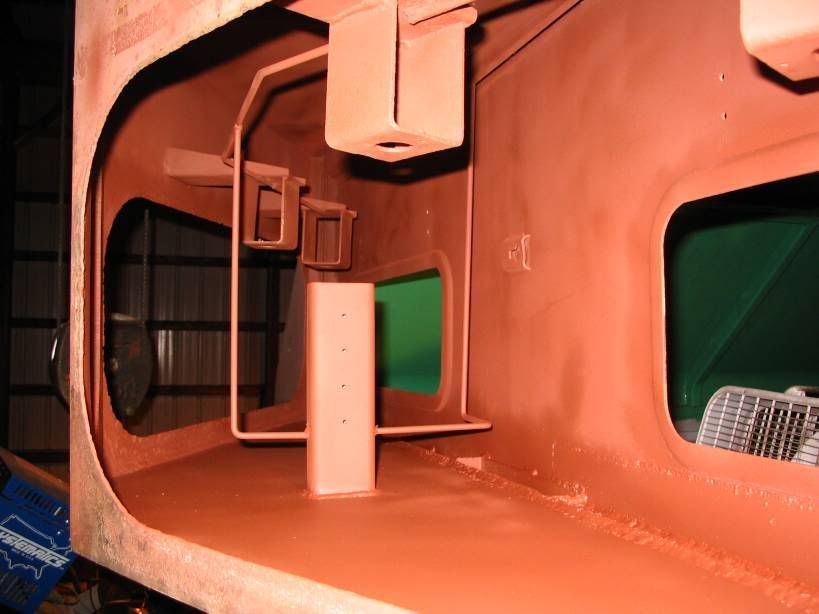
a view of the inside
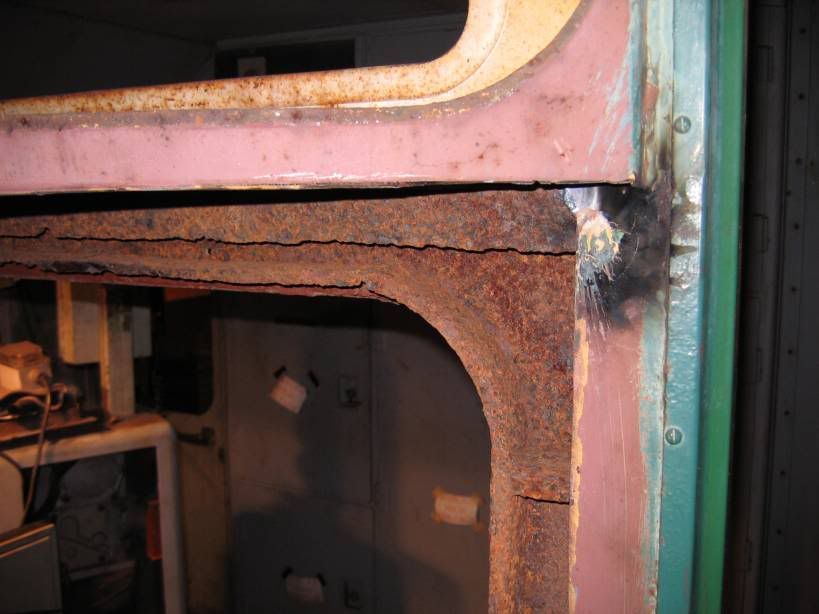
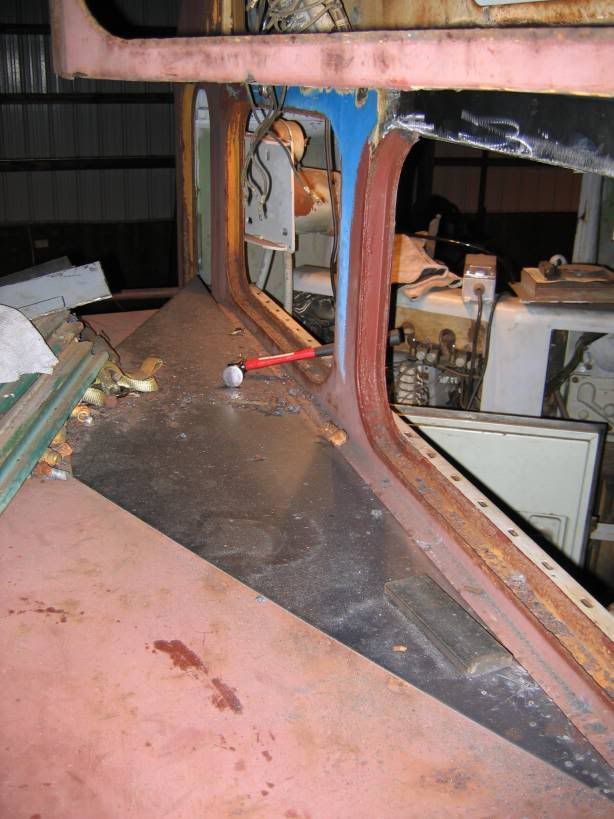
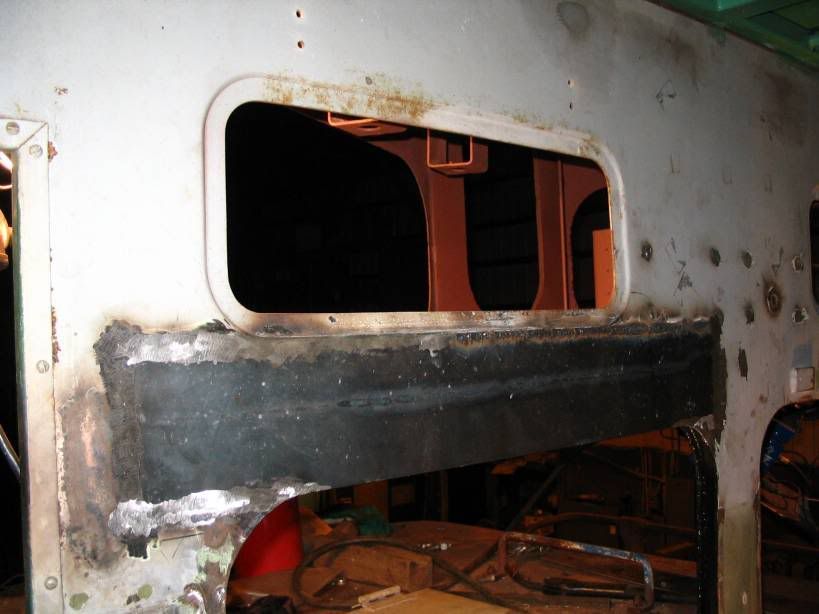
After the new base was installed a patch was cut out and new metal fit in on the inside of the cab due to excessive rot caused by water leaks over the years. The leak sources were also repaired so they will no longer be a problem.
After the new piece was welded in
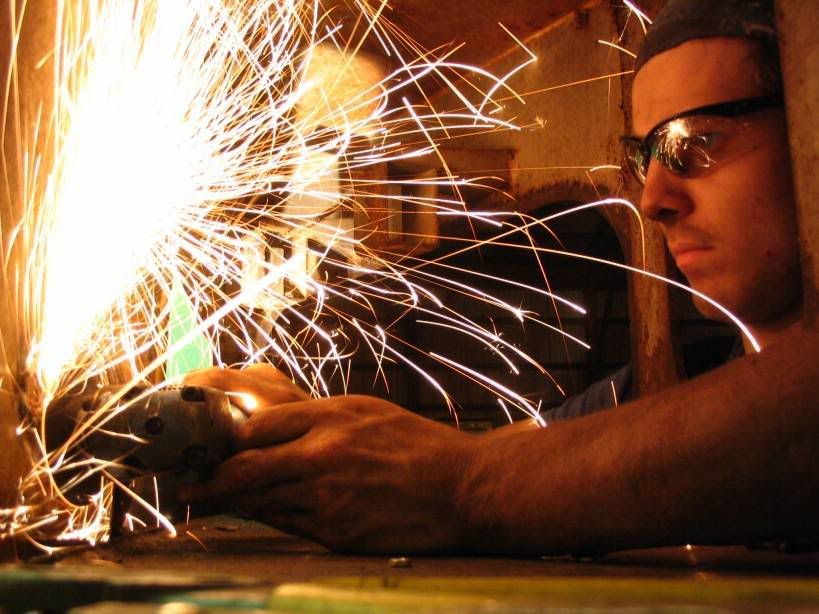
Some guy smoothing out the welds
|
|
| Author: | RDG Diesel [ Wed Mar 05, 2008 2:28 am ] |
| Post subject: | Re: RDG Locomotive 3640 |
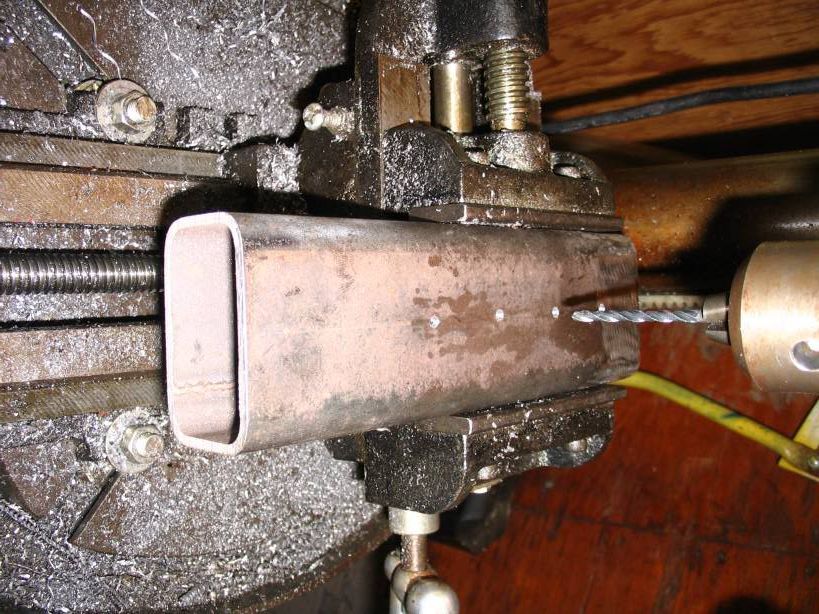
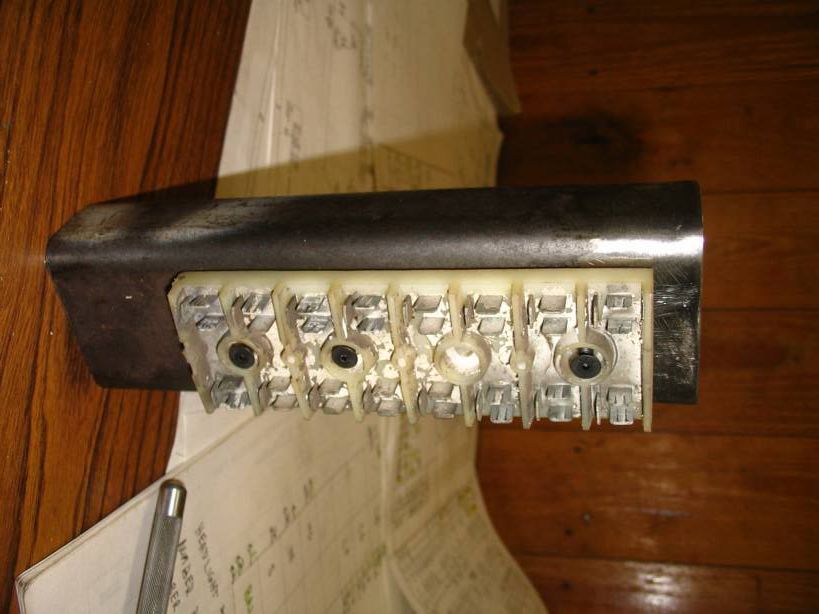
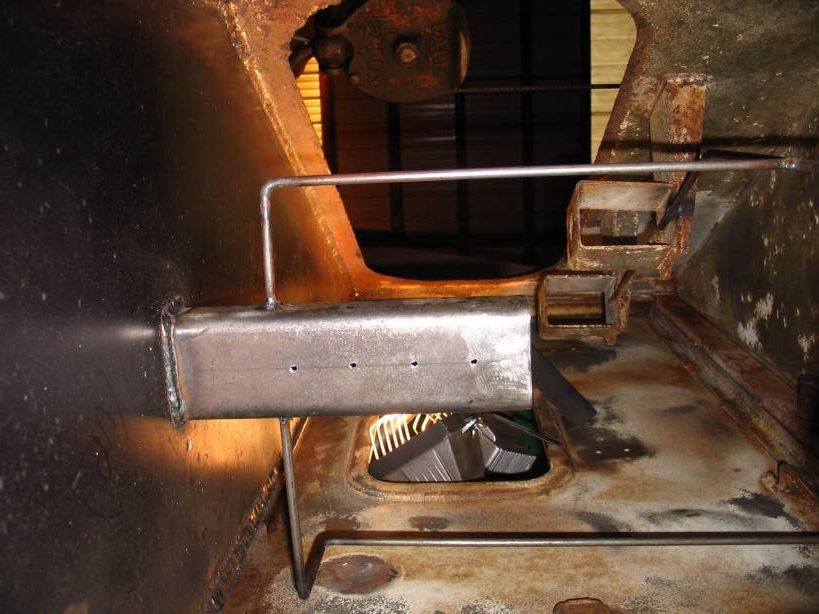
Next up was to remount terminal board 16 in the number board housing this is a picture taken during the fabrication of the new mount.
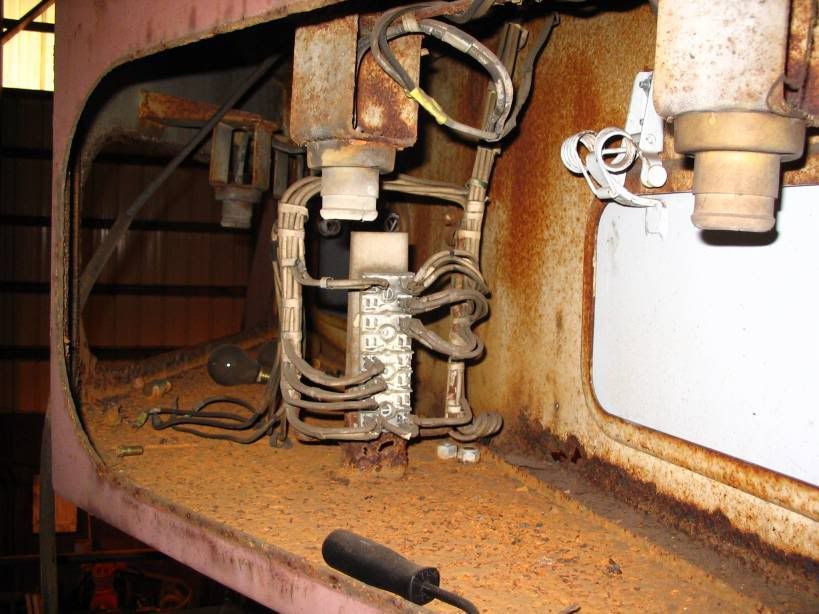
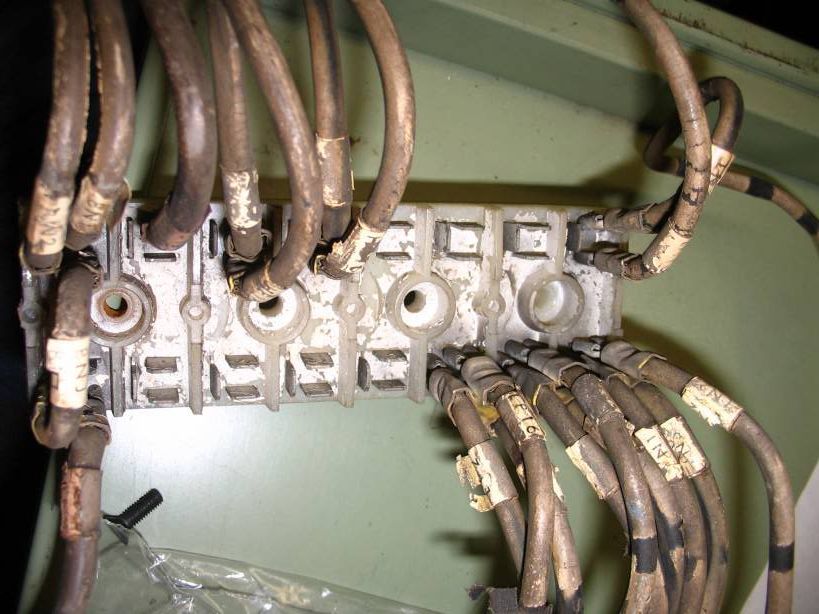
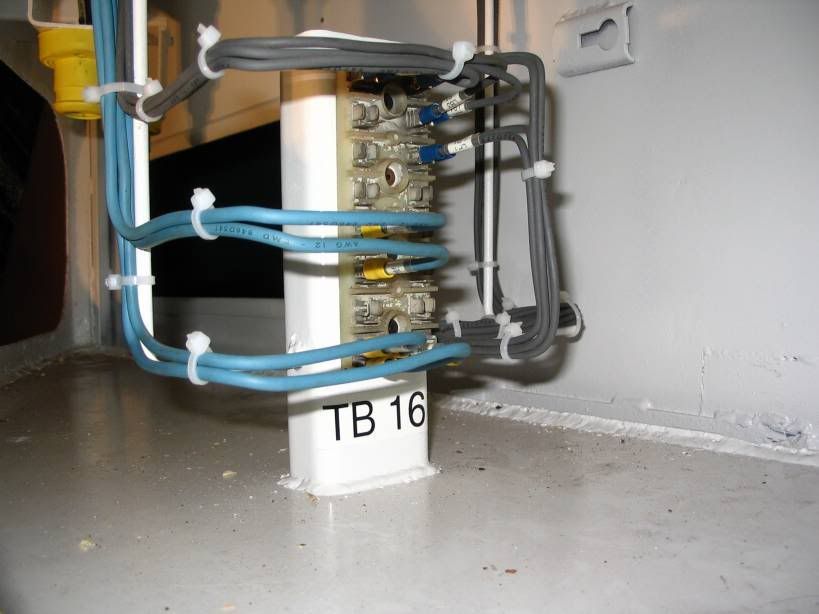
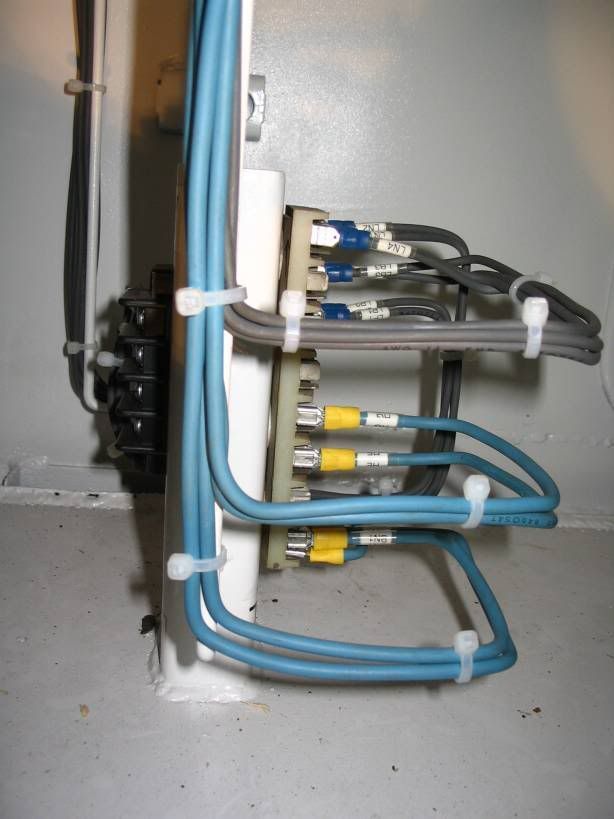
A picture of TB 16 and its wires
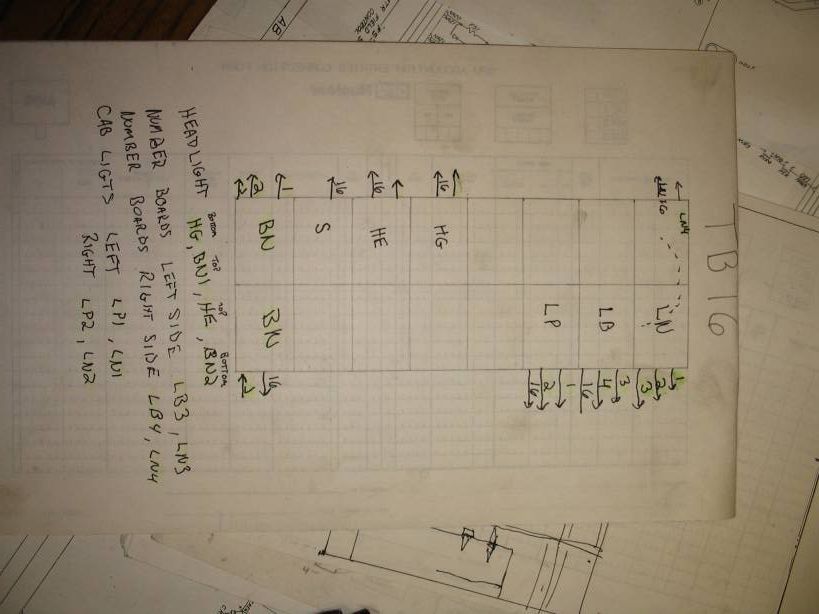
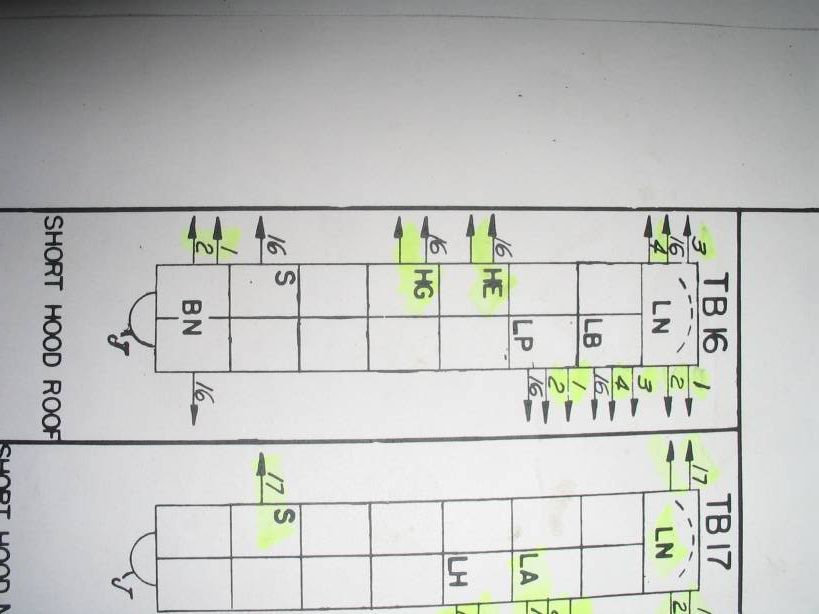
The physical print made for rewiring
The EMD generic we have to work from everything is cross referenced before tearing apart begins.
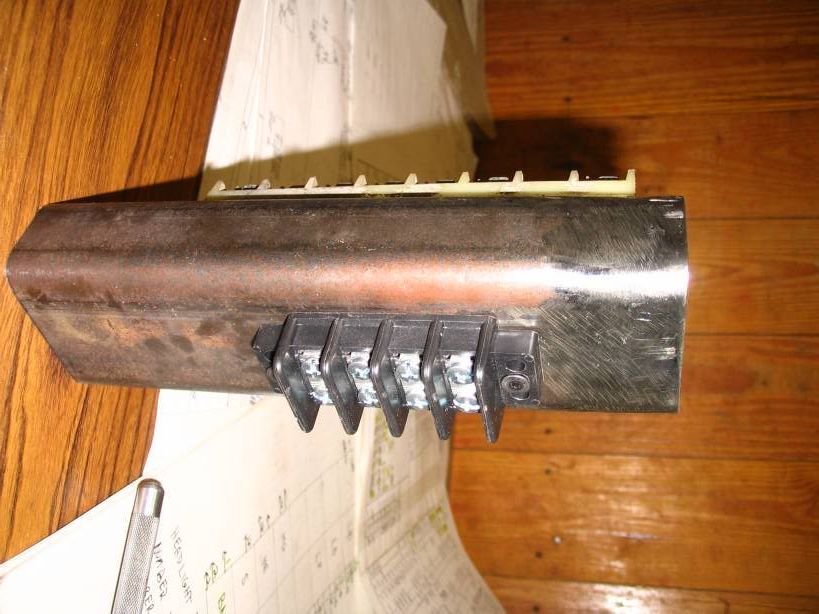
TB 16 test fit on its new mount
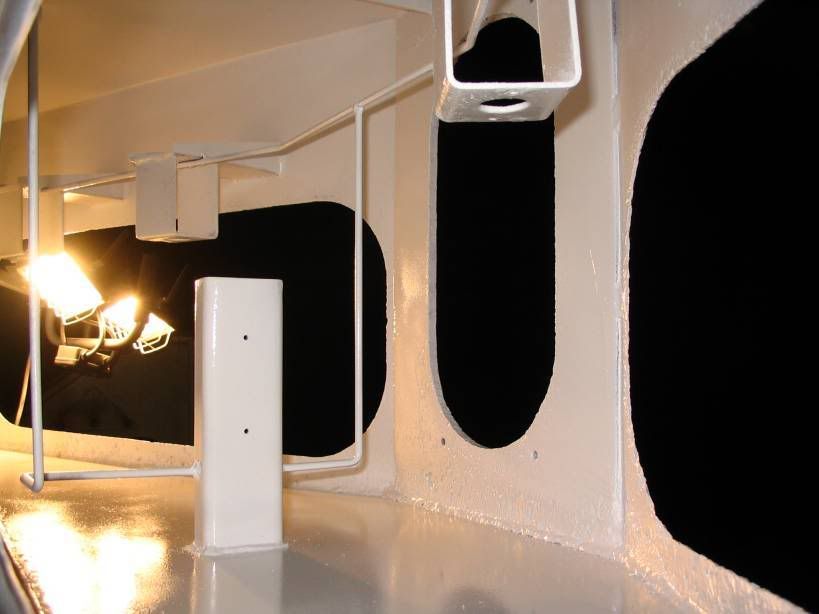
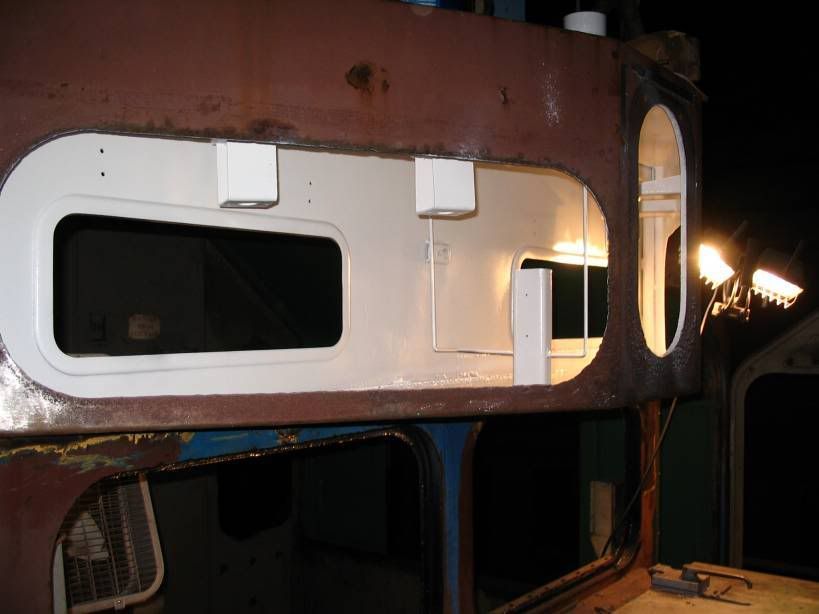
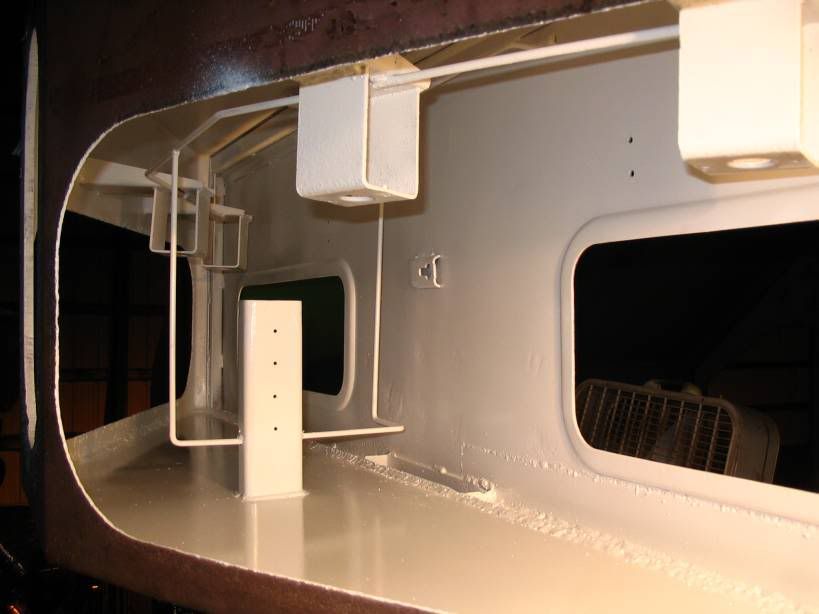
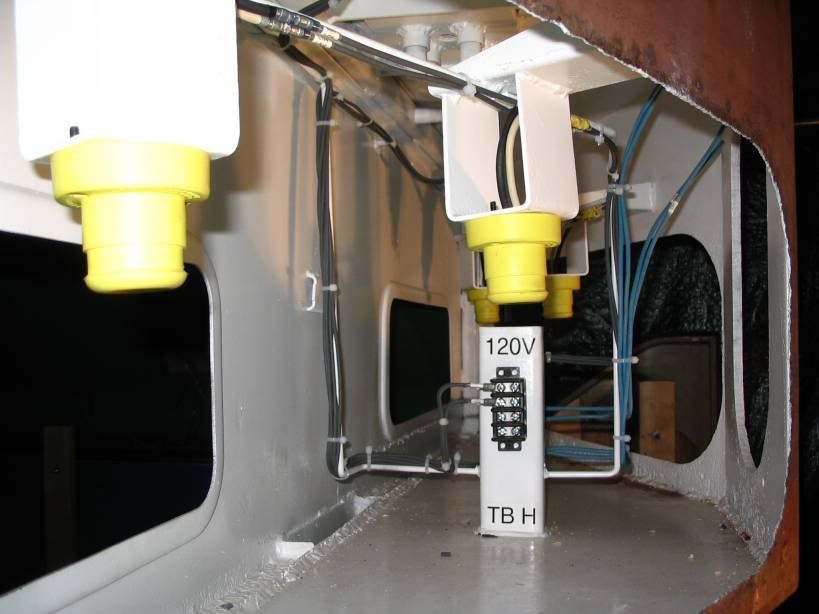
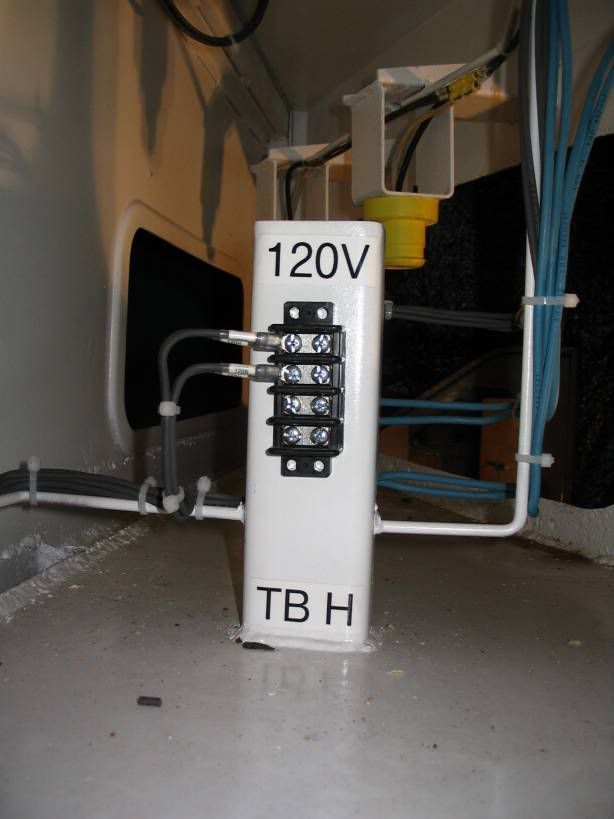
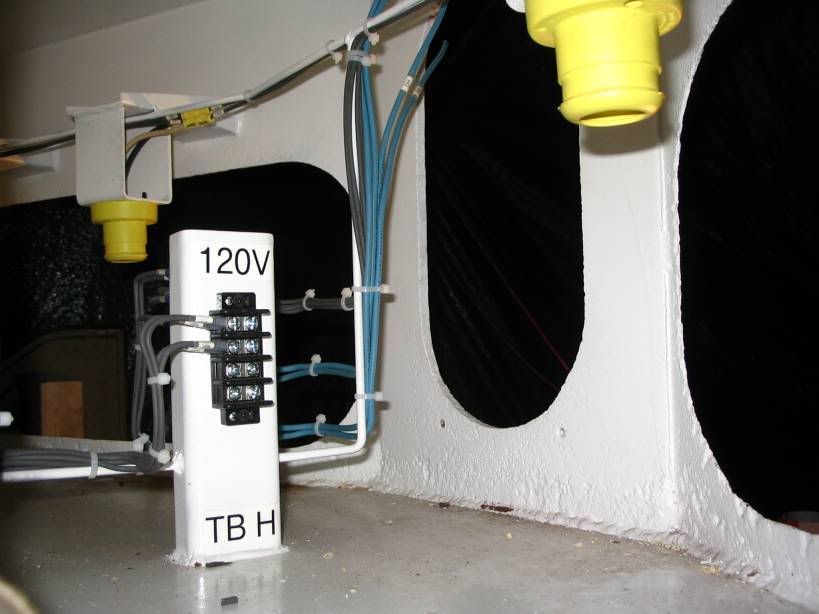
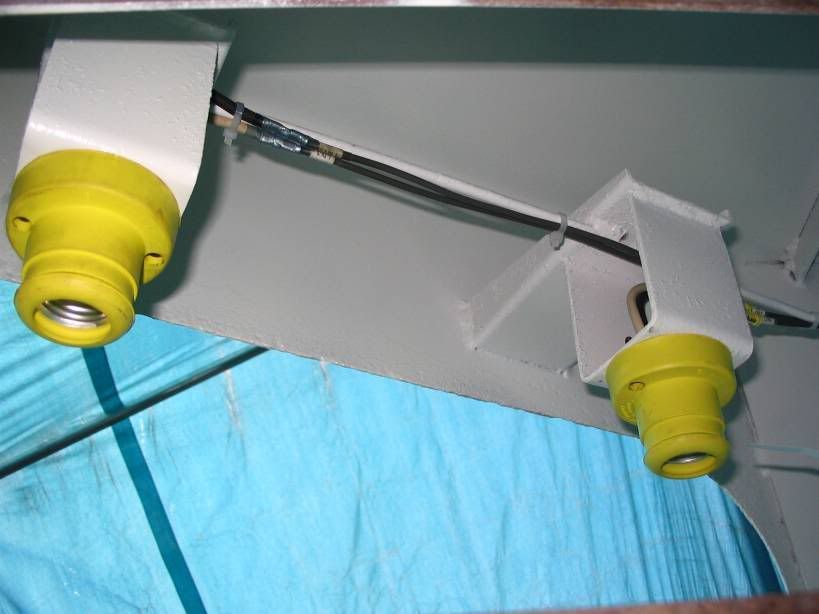
This view is of a non-stock EMD item we are adding 120 VAC auxiliary lighting to 3640 for when the unit is on display and also to help with routine maintenance
After the Terminal boards are test fit the new mount was welded in place and 1/4" round stock shaped into place to tie off the wires.
A view of the other side
|
|
| Author: | RDG Diesel [ Wed Mar 05, 2008 2:38 am ] |
| Post subject: | Re: RDG Locomotive 3640 |
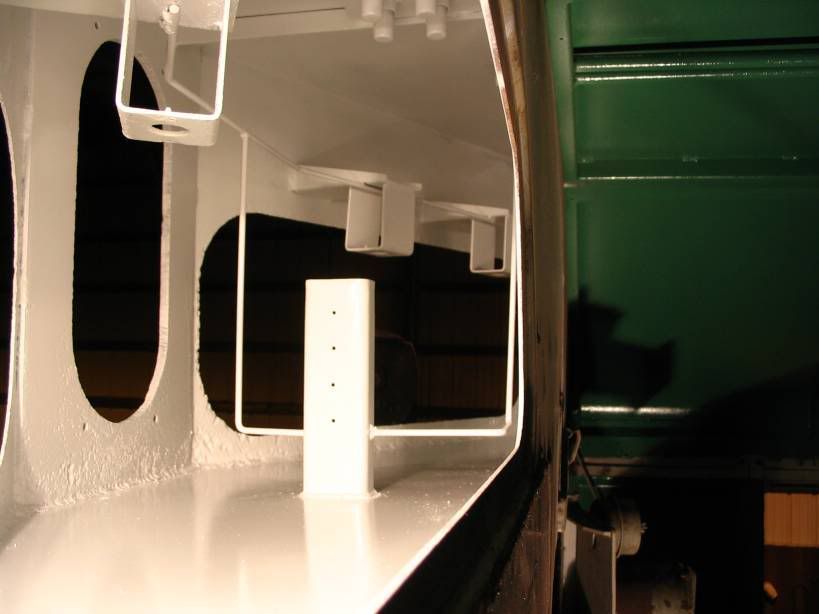
After the entire housing was prepped for paint it was primed
A different angle
From the front
The same angle as the first shot
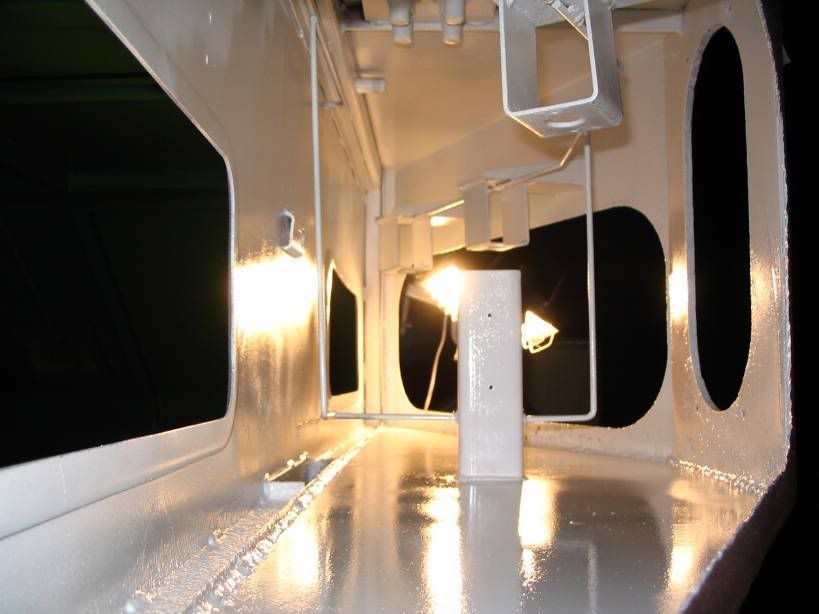
Then it is time for the finish paint
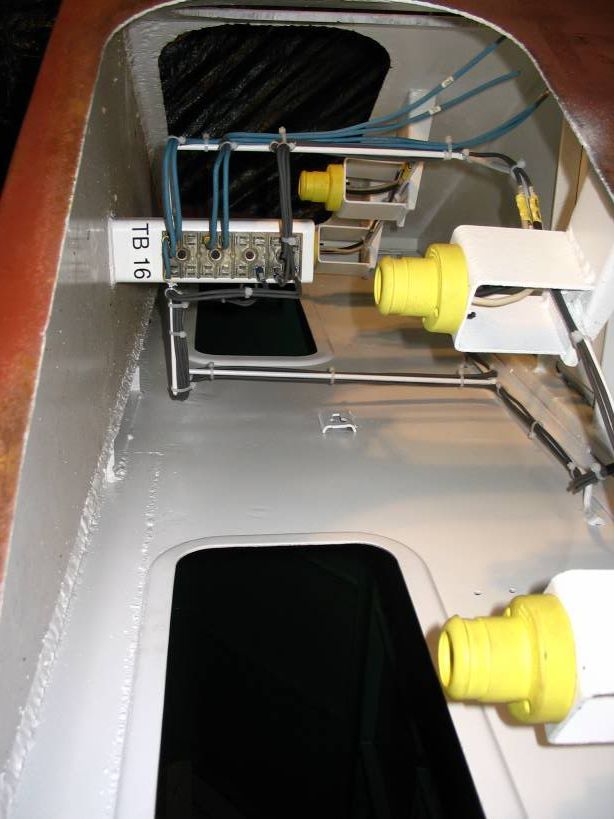
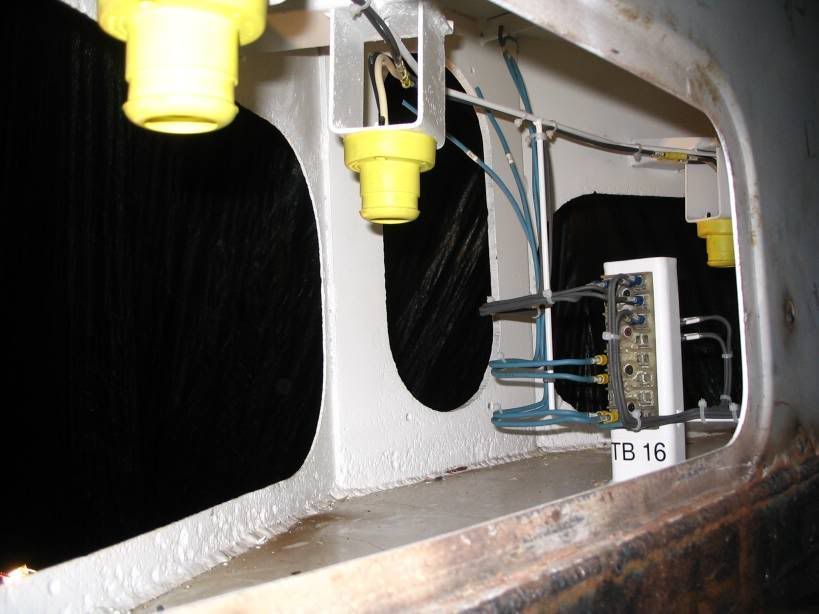
Then it is time to start to rewire everything. Back to the first angle again
A picture showing the 120V
We were lucky to find the original supplier for the number board light sockets.
|
|
| Author: | RDG Diesel [ Wed Mar 05, 2008 2:41 am ] |
| Post subject: | Re: RDG Locomotive 3640 |
Before
And the After I hope you can see the difference I have lots more pictures of other work done to the engine if people are interested I will post them.
|
|
| Author: | cjvrr [ Wed Mar 05, 2008 10:20 am ] |
| Post subject: | Re: RDG Locomotive 3640 |
Absolutely fabulous job! |
|
| Author: | Alexander D. Mitchell IV [ Wed Mar 05, 2008 10:46 am ] |
| Post subject: | Re: RDG Locomotive 3640 |
It's when you look at areas like this, and then fully realize that you're talking about perhaps one half of one percent of the metalwork, rust, electrical, and mechanical aspects of one locomotive that you start to realize what a heck of a big thing you just bit off to chew. I never cease to be amazed at the myriad nooks and crannies in a locomotive like that that have to be restored, renovated, or renewed. If we knew then what we know now, we'd go back to saying "whatever made you think this was a good idea?" or "well, it seemed like a good idea at the time...." My thanks and encouragement go to the RCT&HS and the "miracle workers" involved! |
|
| Author: | Howard P. [ Wed Mar 05, 2008 11:06 am ] |
| Post subject: | Re: RDG Locomotive 3640 |
There is some seriously fine and first-rate work being done on this unit. The RDG GP35 and the CB&Q SD24 at IRM (see the other posts for links to the photos of that) are raising the standard for contemporary diesel locomotive restorations. Absolutely great craftsmanship and lots of dedication to detail on these locos, rather than simply slathering on a coat of exterior paint, so that they are real "museum pieces". Howard P. Iron Oxide, CT |
|
| Author: | RDG Diesel [ Wed Mar 05, 2008 9:17 pm ] |
| Post subject: | Re: RDG Locomotive 3640 |
One of the other areas we worked on was the Front MU drop step. Conrail removed the original so we re-manufactured it from photographs of the unit and sister units. This photo shows the height difference between the original height on the left and the modified height on the left.
This picture shows the modified hanging bracket Conrail put on the unit.
A view of the running board.
With the bracket removed
another from the top
A piece of the new bracket getting fit into place
New braces were welded into the bracket same as the original
The new piece of diamond plate fit into the same location as the original it was very obvious looking at the running board where what pieces were welded.
Final fitting for the main bracket
All of the covered surfaces get painted with rust inhibitor. If you look closely there are little boxes welded around the notched out section this is to keep the elements out of the enclosed area of the box after all the pieces get welded together.
Everything that is going to be covered gets painted
Finally all the pieces get welded together
Then the step is bolted into place.
This entire part of the project just shows the value of having as many photos as possible when attempting to take on a project like this I know I would have been lost with out them. |
|
| Page 1 of 1 | All times are UTC - 5 hours [ DST ] |
| Powered by phpBB © 2000, 2002, 2005, 2007 phpBB Group http://www.phpbb.com/ |
|