| It is currently Fri Apr 26, 2024 10:06 pm |
|
All times are UTC - 5 hours [ DST ] |
 
|
Page 1 of 2 |
[ 26 posts ] | Go to page 1, 2 Next |
|
| Author | Message | ||
|---|---|---|---|
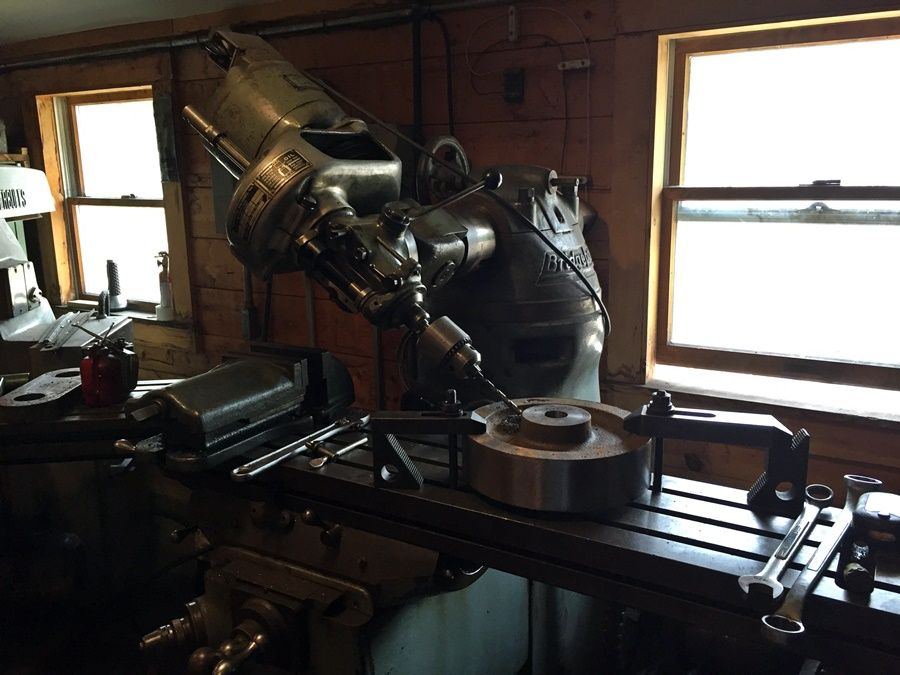
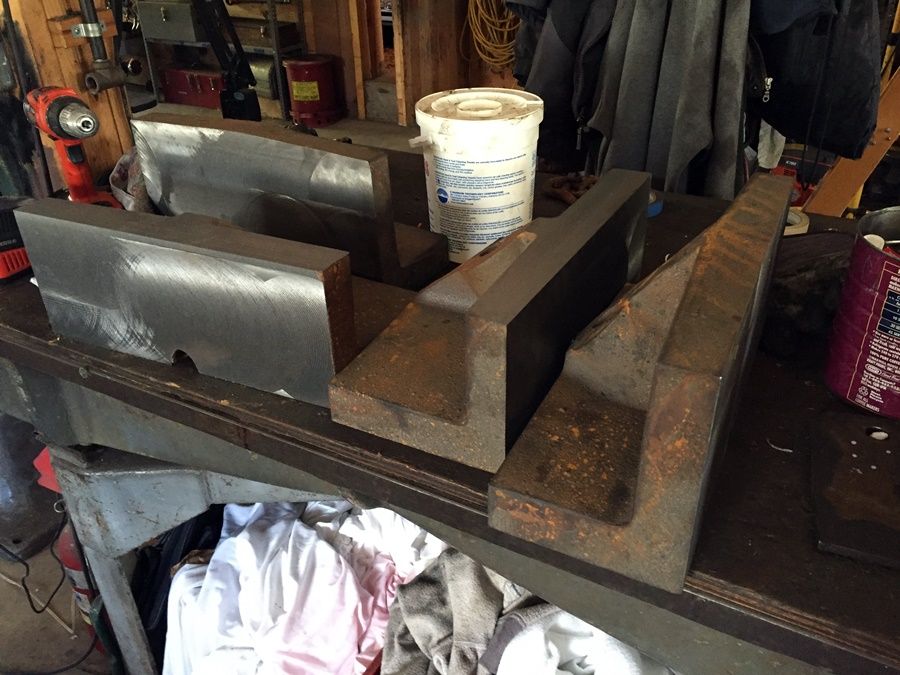
| b. barry |
|
||
|
Joined: Wed Jan 25, 2012 4:01 pm Posts: 117 Location: Bath, Me |
|
||


| Rick Rowlands |
|
||
|
Joined: Thu Sep 22, 2011 4:29 pm Posts: 1899 Location: Youngstown, OH |
|
||
| Frisco1522 |
|
||
|
Joined: Sun Aug 22, 2004 3:37 pm Posts: 1277 Location: Pacific, MO |
|
||
| elecuyer |
|
||
|
Joined: Mon Aug 23, 2004 12:53 pm Posts: 294 Location: Alna, ME |
|
||
| rrpreservation |
|
||
|
Joined: Fri Jun 03, 2011 7:40 pm Posts: 45 |
|
||
| k5ahudson |
|
||
|
Joined: Tue Aug 24, 2004 6:30 am Posts: 758 |
|
||
| Ron Goldfeder |
|
||
|
Joined: Sun Aug 22, 2004 2:46 pm Posts: 648 Location: St. Louis, MO |
|
||
| Ron Goldfeder |
|
||
|
Joined: Sun Aug 22, 2004 2:46 pm Posts: 648 Location: St. Louis, MO |
|
||
| b. barry |
|
||
|
Joined: Wed Jan 25, 2012 4:01 pm Posts: 117 Location: Bath, Me |
|
||
| ted66 |
|
||
|
Joined: Mon Jun 13, 2016 10:40 pm Posts: 386 Location: San Francisco, CA |
|
||
| Train Detainer |
|
||
|
Joined: Mon Jun 13, 2011 9:52 pm Posts: 42 Location: Albany, NY |
|
||
| b. barry |
|
||
|
Joined: Wed Jan 25, 2012 4:01 pm Posts: 117 Location: Bath, Me |
|
||
| Richard Glueck |
|
||
|
Joined: Sun Aug 22, 2004 11:26 am Posts: 4644 Location: Maine |
|
||
| crij |
|
||
|
Joined: Sun Aug 22, 2004 12:15 am Posts: 585 |
|
||
|
|
Page 1 of 2 |
[ 26 posts ] | Go to page 1, 2 Next |
|
All times are UTC - 5 hours [ DST ] |
Who is online |
Users browsing this forum: Daylight25, garyrsatx, Google [Bot], Ted_Delphia, timken2626 and 351 guests |
| You cannot post new topics in this forum You cannot reply to topics in this forum You cannot edit your posts in this forum You cannot delete your posts in this forum You cannot post attachments in this forum |